MIM Design And Tools
- Home
- MIM Design And Tools
Design Guidelines
Designing for Metal Injection Molding (MIM) is similar to designing for plastic molding due to the resemblance in their molding techniques. Thankfully, MIM affords a degree of design flexibility that surpasses what’s possible with other metal fabrication methods. It enables the creation of intricate features such as overhangs, undercuts, threads, and various complex shapes.
MIM Tooling Design
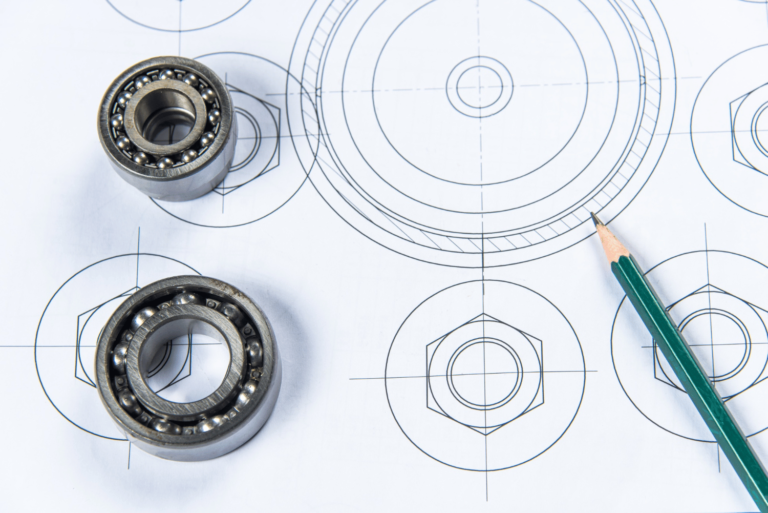
When making a part with Metal Injection Molding (MIM), the design of the tools used is really important. These tools need to have certain features right, like where the mold splits (parting lines), where the material is injected (gates), spots left by ejector pins, and how to make special cuts (cam actions).
Parting Lines: All MIM parts show a line where the two parts of the mold meet. But with some smart design, you can hide or make this line less noticeable by placing it along the edges of a feature.
Gating: This is where the material for the part is put into the mold. There are four main types of gates: tab, tunnel, jump, and drop. Each type leaves a small mark, making it tricky to decide where to put them. It’s best to place gates where the part is thickest, so it fills evenly from thick to thin areas. For round parts, injecting near the middle helps avoid warping during the sintering process.
Ejector Pins: These pins push the finished part out of the mold but can leave marks. It’s a good idea to design the part so these marks are in spots that won’t be seen once the part is put together.
Cam Actions: These are used to make special cuts in the part without needing extra steps later. When you’re adding these cuts, think about which way the cam needs to move. If you need several cams, it gets more complicated because they need space inside the tool.
Design Guidelines
Complexity and Geometry
Maximize Design Complexity: MIM excels at producing complex and intricate parts. Designers should leverage this to integrate multiple components into a single piece, reducing assembly costs.
Consider Draft Angles: Include draft angles in your design to facilitate easier removal of the part from the mold, typically between 0.5° and 2°.
Wall Thickness
Uniformity: Aim for uniform wall thickness to prevent defects such as sink marks and warping. The recommended thickness typically ranges from 0.5mm to 6mm.
Transitions: Gradual transitions between thick and thin sections help minimize stress concentrations and distortion.
Tolerances
MIM can achieve tolerances of ±0.3% to ±0.5% of the dimension. Design parts with these tolerances in mind to take full advantage of MIM’s capabilities without necessitating extensive post-processing.
Material Selection
Feedstock Properties: The mixture of metal powders and binder materials (feedstock) should have properties compatible with your design requirements, including flow characteristics and particle size distribution.
MIM Tools and Software
Design Software
Utilize CAD software that can handle complex geometries and provide simulations for mold flow analysis. This helps in identifying potential manufacturing challenges in the design phase.
Molding Tools
Mold Design and Construction: Molds for MIM must be designed to accommodate thermal expansion and shrinkage. Use materials that withstand the high pressures and temperatures involved in MIM.
Injection Molding Machines: Select machines that can accurately control injection parameters, such as pressure and temperature, to ensure consistent feedstock flow and quality.
Debinding and Sintering Equipment
Debinding and sintering processes require precise temperature control to remove the binder material and fuse the metal particles. Equipment should allow for controlled atmosphere conditions to prevent oxidation.